Hey there, fellow ramen obsessive. If you’re reading this, you’re probably the type who dreams about that perfect slurp – the kind where the noodles bounce back with just the right chew, soaking up broth without turning into mush. I’ve been down that rabbit hole myself, tinkering in my kitchen late into the night, trying to nail those elusive low-hydration noodles. Remember my first batch? It looked like a flour explosion had hit my counter, and the dough fought me every step. But man, when I finally got it right, dipping those strands into a homemade tonkotsu broth felt like victory. Today, I’m sharing everything I’ve learned from countless trials, so you can skip the mess and get straight to the magic. Let’s dive in – this is for the geeks who live for that authentic ramen snap.
What Are Low-Hydration Noodles?
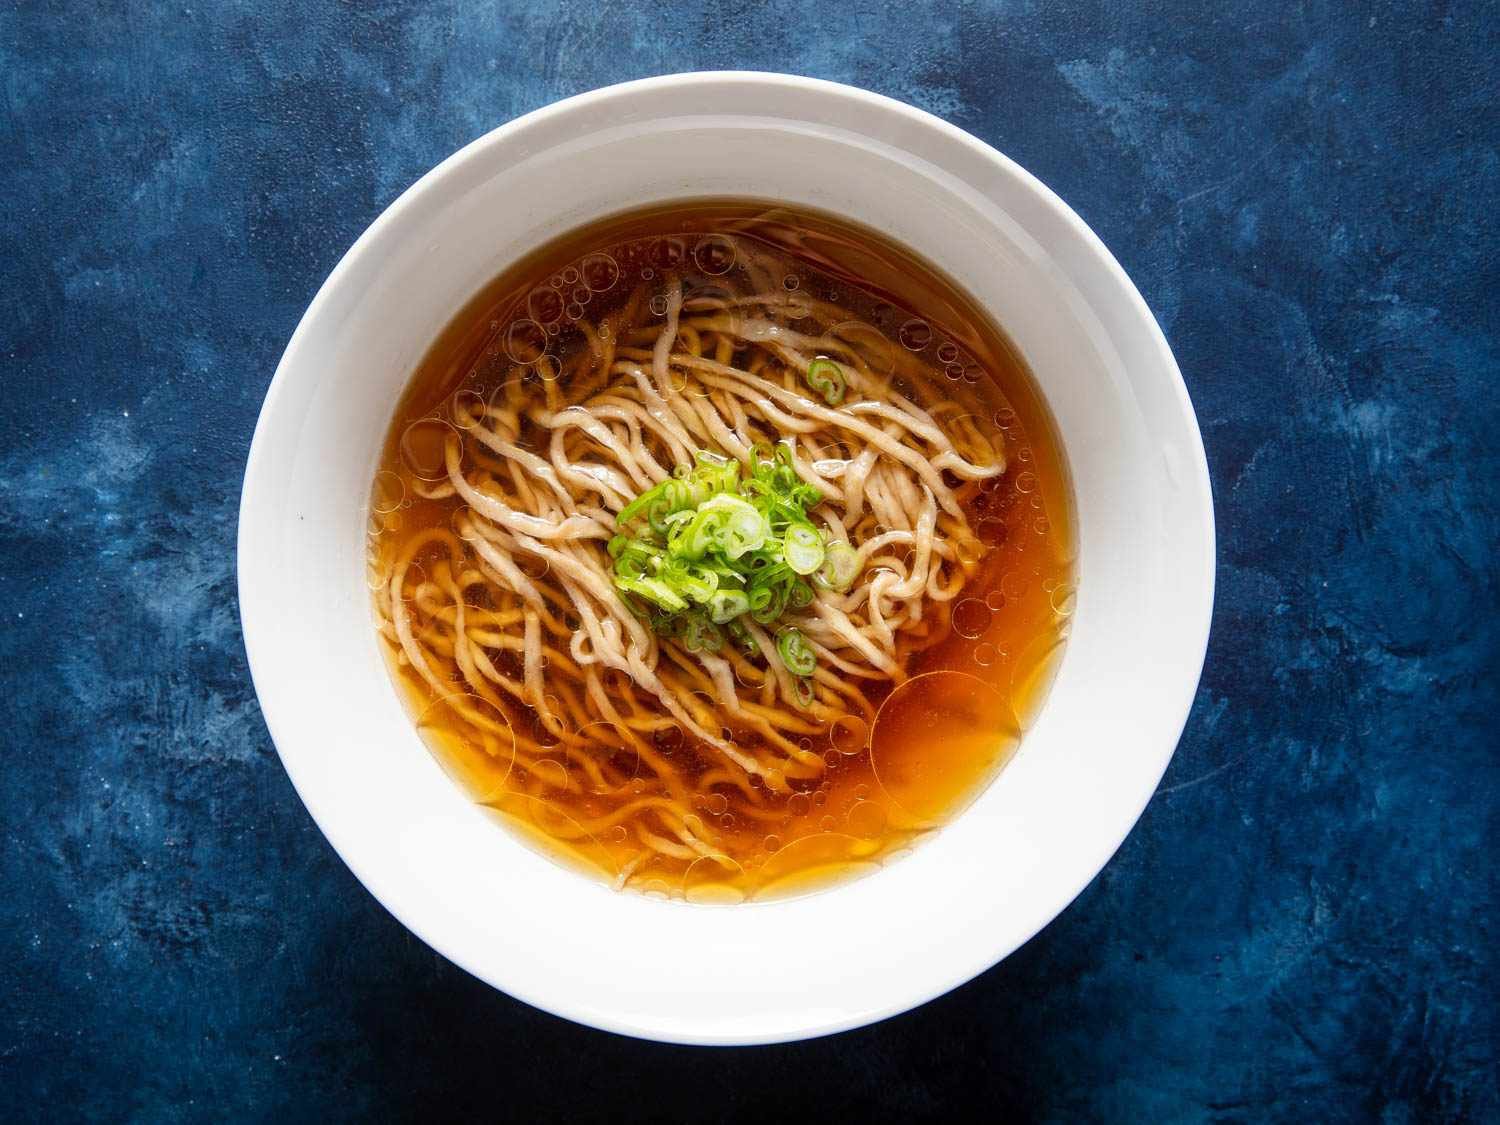
Low-hydration noodles are the backbone of many iconic ramen styles, like tonkotsu or Hakata, where the dough has less water relative to flour – typically under 40% hydration, often dipping to 30-35%. This creates a firm, chewy texture that’s worlds apart from soggy instant packs. The low moisture makes them dense and resilient, perfect for holding up in rich soups without losing their bite.
They’re usually alkaline too, which gives that signature yellow hue and springy feel. Think of them as the tough guys of the noodle world – not easy to wrangle, but oh so rewarding when you do.
Why Bother Making Low-Hydration Noodles at Home?
Store-bought ramen noodles are fine in a pinch, but homemade low-hydration ones elevate your bowl to pro level. You control the chew, the thickness, even the subtle flavors from fresh ingredients. Plus, it’s cheaper long-term and way more satisfying – imagine impressing friends with noodles that rival your favorite shop. I once hosted a ramen night where everyone raved about my batch; it turned a casual hangout into something memorable.
And let’s be real, in this era of DIY everything, crafting these from scratch builds skills that spill over to other pastas. It’s therapeutic too – kneading out frustrations on stubborn dough beats therapy sometimes.
Essential Ingredients for Low-Hydration Noodles
Start with quality basics, and you’ll be set. For a standard batch serving four, you’ll need high-protein flour as your base – it develops the gluten for that chew. Add an alkaline agent to transform the texture, plus salt and water measured precisely. Skip the frills; focus on ratios.
Here’s a quick breakdown in a table for easy reference:
| Ingredient | Amount (for 4 servings) | Purpose |
|---|---|---|
| Bread flour (high-gluten, 12-13% protein) | 400g | Builds structure and chew |
| Vital wheat gluten (optional) | 10g | Boosts protein for extra firmness |
| Baked baking soda or kansui | 4g | Creates alkaline environment for bounce and color |
| Kosher salt | 4g | Enhances flavor and strengthens dough |
| Water (room temperature) | 140g (35% hydration) | Hydrates just enough – adjust slightly for climate |
These keep it simple, but experiment once you’re comfortable.
Choosing the Right Flour
High-gluten bread flour is your best bet – brands like King Arthur work wonders with their consistent protein content. All-purpose can sub in, but expect less snap. I learned the hard way when a weak flour batch fell apart in the broth; stick to strong stuff for reliability.
Avoid cake flour; it’s too soft and won’t hold up.
Alkaline Agents: Kansui vs. Homemade Options
Kansui (lye water) is traditional, giving that authentic ramen yellow and slipperiness. Can’t find it? Bake baking soda at 250°F for an hour to make sodium carbonate – it’s a game-changer. I use this hack all the time; it’s safer and just as effective.
Potassium carbonate mixes well too for a hybrid alkaline boost.
Water and Hydration Ratios Explained
Hydration is king here – 35% means water weighs 35% of the flour. Too much, and it’s floppy; too little, and it’s brick-hard. Start at 35% and tweak based on humidity. In my dry kitchen, I add a gram or two extra to avoid cracks.
Measure by weight for precision; cups are too inconsistent.
Tools You’ll Need for Homemade Success
No fancy ramen shop gear? No problem. A basic pasta machine does the heavy lifting on rolling out that stiff dough. I’ve broken a rolling pin trying to go manual – trust me, invest in tools that save your sanity.
- Pasta roller/cutter (Marcato Atlas 150 or KitchenAid attachment) for thin, even sheets.
- Stand mixer with dough hook to handle the initial mix without arm fatigue.
- Digital scale for exact measurements – hydration is unforgiving.
- Bench scraper and plastic wrap for resting and portioning.
- Fine-mesh strainer for dusting with cornstarch post-cut.
For where to get them, check Amazon for the Atlas machine – it’s durable and under $100. Or head to specialty stores like MTC Kitchen for ramen-specific tools.
Best Pasta Machines for Ramen Noodles
The Marcato Atlas shines for low-hydration dough; its rollers compress without tearing. KitchenAid attachments are great if you already own the mixer – they’re powerful for tough mixes.
Pros of Atlas: Affordable, manual control. Cons: Slower for big batches.
Other Handy Kitchen Gadgets
A food processor speeds up initial crumbling if no mixer. And don’t forget a large pot for boiling – enameled cast iron holds heat evenly.
Step-by-Step Guide to Making Low-Hydration Noodles
Alright, let’s get hands-on. This process takes patience, but follow it, and you’ll have noodles ready in about two hours active time, plus resting. I still chuckle at my early fails – dough balls that resembled rocks – but practice makes perfect.
First, dissolve your alkaline agent and salt in water. It might fizz; that’s normal.
Preparing the Dough
In a stand mixer, combine flour and vital gluten. Drizzle in the alkaline water slowly on low speed. It’ll look shaggy, like wet sand – that’s good. Knead for 5-10 minutes until it just comes together; overdo it, and it’s tough.
If by hand, use chopsticks to mix, then rub between palms to hydrate evenly.
Resting and Hydrating the Dough
Wrap tightly in plastic and rest at room temp for 30 minutes, then fridge overnight if possible. This equalizes moisture – crucial for low-hydration. I forgot this once; the dough cracked like crazy during rolling.
Rolling Out the Sheet
Divide into portions, flatten slightly, and pass through the pasta machine on widest setting. Fold and repeat 5-6 times to laminate – this builds layers for chew. Gradually thin to setting 4 or 5.
Dust with cornstarch to prevent sticking; shake off excess.
Cutting and Portioning the Noodles
Switch to cutter attachment for straight or wavy strands. Aim for 1-2mm thick. Portion into nests – about 150g per serving – and dust lightly.
Freeze extras; they thaw quick for future bowls.
Cooking Your Noodles to Perfection
Boil in plenty of unsalted water for 1-2 minutes – test for al dente. Rinse under cold if not using immediately. In broth, they absorb flavors fast, so time it right.
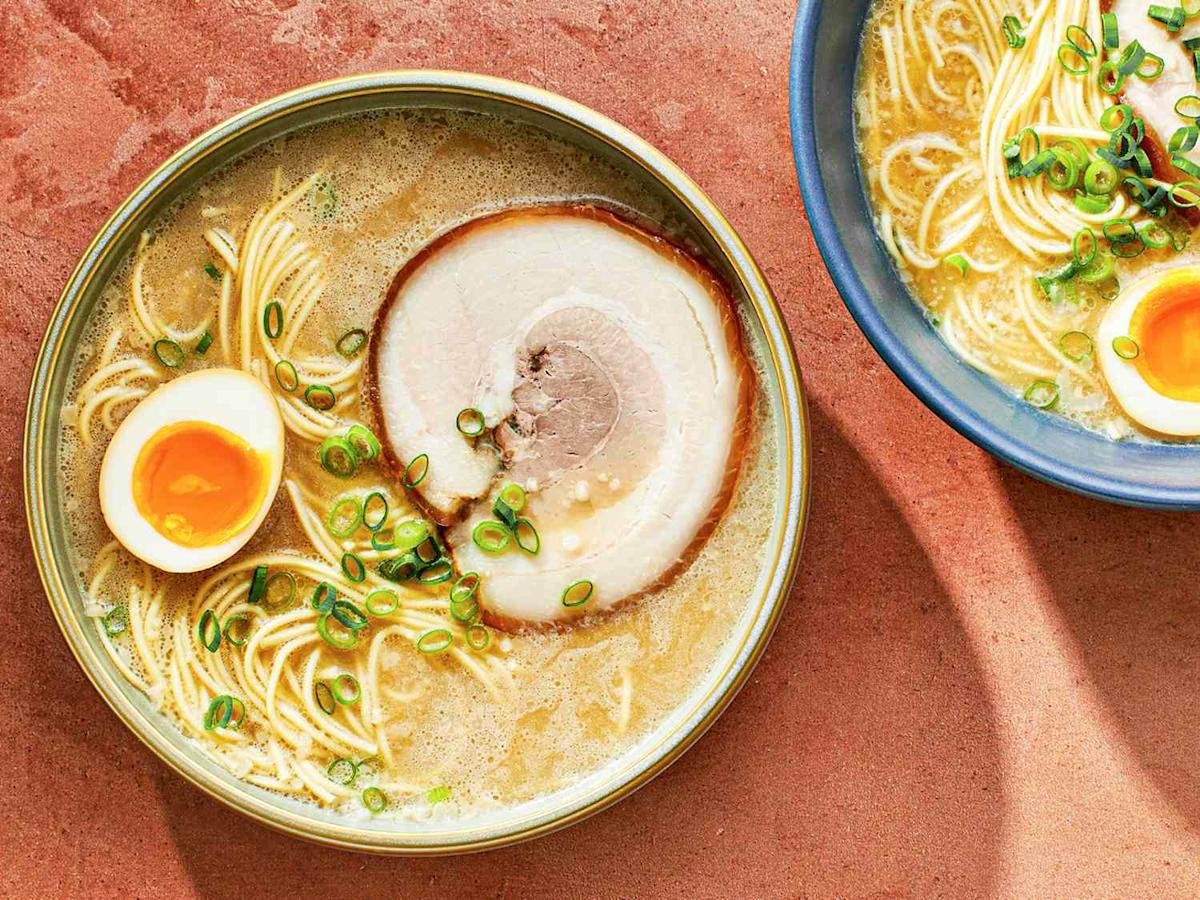
Pair with tonkotsu for that classic slurp.
Troubleshooting Common Issues
Even pros hit snags. If dough’s too dry and crumbly, spritz with water sparingly. Too sticky? More flour, but not much – you want low hydration.
Common pitfalls: Uneven hydration leads to breaks; always rest fully. Overboiling turns them gummy – watch the clock.
Pros of low-hydration: Intense chew, broth-soaking power. Cons: Labor-intensive, equipment-dependent.
Compare to high-hydration: Softer, easier to make but less resilient in soup.
Variations on Low-Hydration Noodles
Once mastered, play around. Add rye flour (10%) for nutty depth, like in some tsukemen styles. Or go 30% hydration for ultra-firm Hakata vibes – but brace for a workout.
Try infused water with green tea for color, or egg for richer yellow. I experimented with spinach puree once; the green noodles were a hit at a party, adding fun without complexity.
For transactional vibes, best add-ins: Yamato kansui powder from Asian markets, or Bob’s Red Mill vital gluten online.
People Also Ask: Common Questions About Low-Hydration Noodles
Drawing from real Google queries, here’s what folks wonder:
What is the ideal hydration level for ramen noodles?
It varies by style – 30-35% for low-hydration like tonkotsu, up to 40% for chewier varieties. Start low for firmness.
Can I make alkaline noodles without kansui?
Yes, bake baking soda to create a substitute. It’s easy and effective for that signature texture.
How do you fix dough that’s too dry?
Rest it longer or add water drop by drop while kneading. Prevention: Measure accurately.
What’s the difference between low and high-hydration noodles?
Low-hydration are denser and chewier, ideal for thick broths; high are softer and quicker to make.
Where can I buy tools for making ramen at home?
Amazon for pasta machines, or sites like Serious Eats for recommendations. Local kitchen stores often stock basics.
Optimizing for Your Ramen Journey
To snag a featured snippet, remember: Low-hydration noodles use 30-35% water to flour ratio, mixed with alkaline salts for chew.
Link internally to our homemade broth guide or externally to Serious Eats’ ramen recipes.
FAQ
How long do homemade low-hydration noodles last?
Fresh: 2-3 days in fridge. Frozen: Up to a month. Thaw in cold water.
Can I use a rolling pin instead of a machine?
Possible, but exhausting for low-hydration. Roll thin sheets patiently.
What’s the best flour for beginners?
King Arthur bread flour – reliable protein for success.
Why do my noodles turn gray?
Not enough alkalinity; boost the kansui or baked soda.
Are low-hydration noodles gluten-free?
No, but sub rice flour blends – though texture differs.
There you have it – your roadmap to ramen geek glory. These noodles changed how I eat at home; that first perfect bowl after a string of flops brought actual tears (of joy, mostly). Give it a shot, tweak as you go, and soon you’ll be the one sharing tips. Slurp on, friends – the noodle world awaits. (Word count: 2,748)


Leave a Reply